Learn how to easily replace the ear cushions on your Logitech-G Pro X gaming headset. Follow our simple guide to fitting Logitech-G Pro X replacement ear pads to maintain comfort and sound quality for an optimal gaming experience.
The Logitech-G Pro X headset is a top choice for gamers seeking superior audio quality, comfort, and durability. Its professional-grade features and design make it a go-to for both casual and competitive gamers. However, even the best headsets require maintenance to maintain their high performance. One key aspect of this upkeep is replacing the earpads. Over time, the ear cushions can wear out, affecting comfort and sound quality.
Whether you are experiencing wear and tear, hygiene concerns, or simply want to upgrade to a more premium material, replacing the ear cup pads is a simple yet effective way to rejuvenate your headset.
Why Change Logitech-G Pro X Earpads?
The earpads on the Logitech-G Pro X headset will inevitably degrade over time and are one of the most common problems with the Logitech-G Pro X headset. Here are some good reasons to replace the ear cushions on your headset:
- Wear and Tear: With regular use, the earpads can become compressed, crack, or peel, reducing their effectiveness and comfort.
- Hygiene: Earpads can accumulate sweat, oils, and dust over time, leading to unpleasant odors and potential skin irritation. Regularly replacing the earpads helps maintain cleanliness and hygiene.
- Enhanced Comfort: Upgrading to earpads made from different materials, such as memory foam or velour, can enhance comfort, especially during extended gaming sessions.
- Improved Sound Quality: Worn-out ear cushions can negatively impact the acoustic seal, affecting overall sound quality. Fresh earcup pads help restore the original audio performance.
In this article, we will provide a detailed, step-by-step guide on how to replace the earcup pads on your Logitech-G Pro X headset. With a few simple steps, you can ensure your gaming experience remains comfortable and immersive.
Replacing the earpads on your Logitech-G Pro X headset is a straightforward process that can significantly improve comfort and sound quality. Follow these steps to carefully replace your ear cushions and ensure your headset remains in top condition.
How To Replace Logitech-G Pro X Ear Cushions
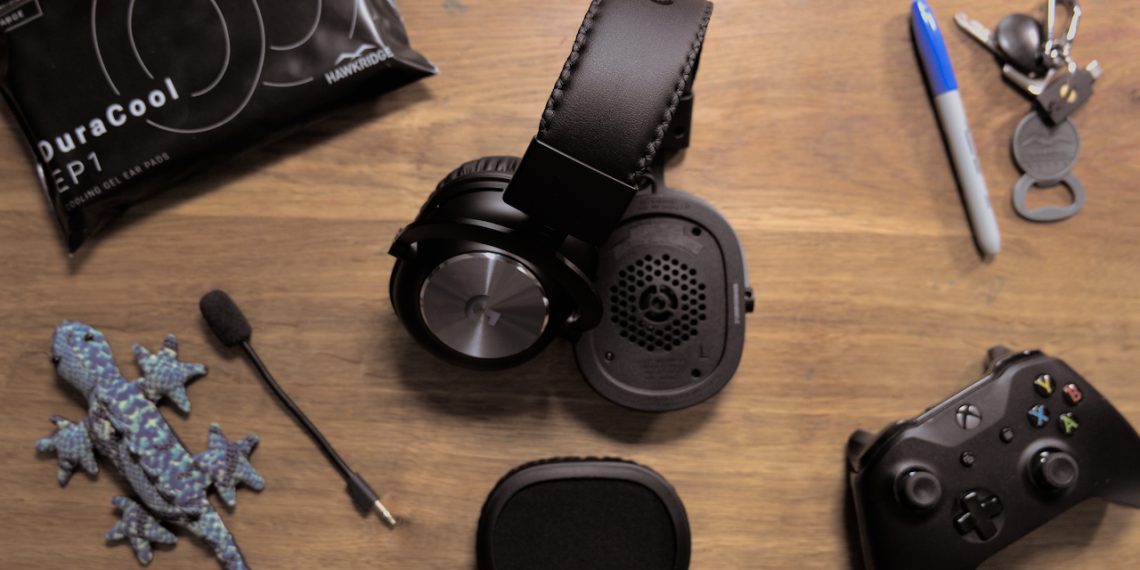
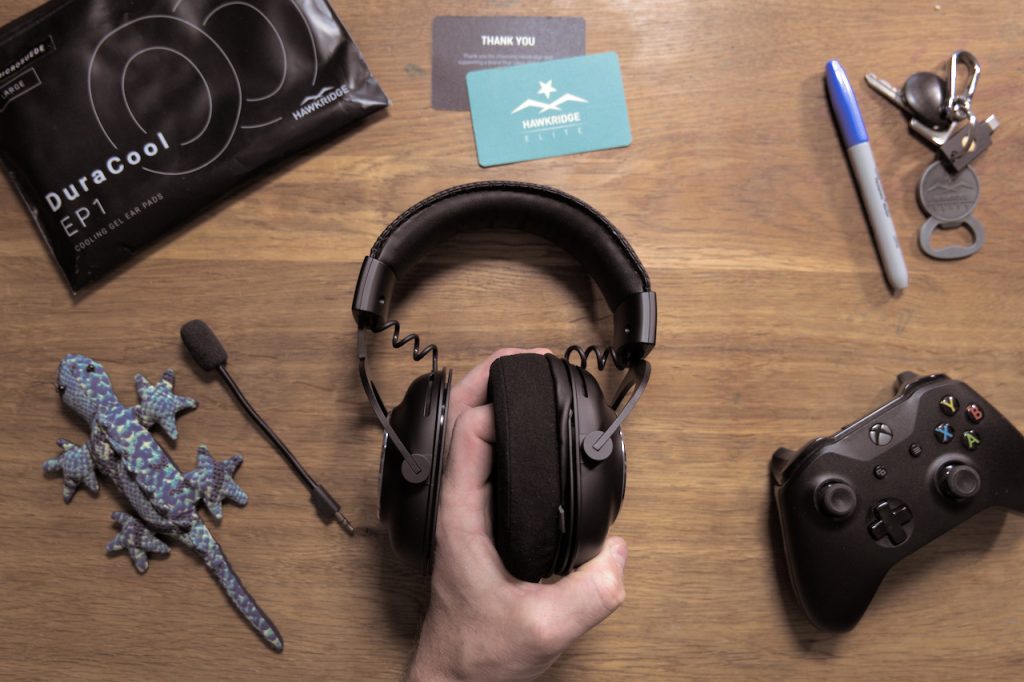
What You’ll Need:
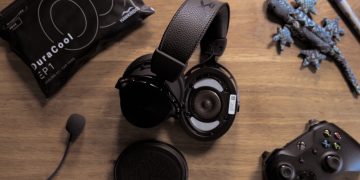
- New replacement earpads for Logitech-G Pro X (we recommend the Hawkridge EP1 DuraCool Earpads)
- Clean, flat workspace
Step 1: Remove the Old Earpads
- Disconnect headset from source: Ensure your headset is disconnected from any audio source devices to avoid accidental damage.
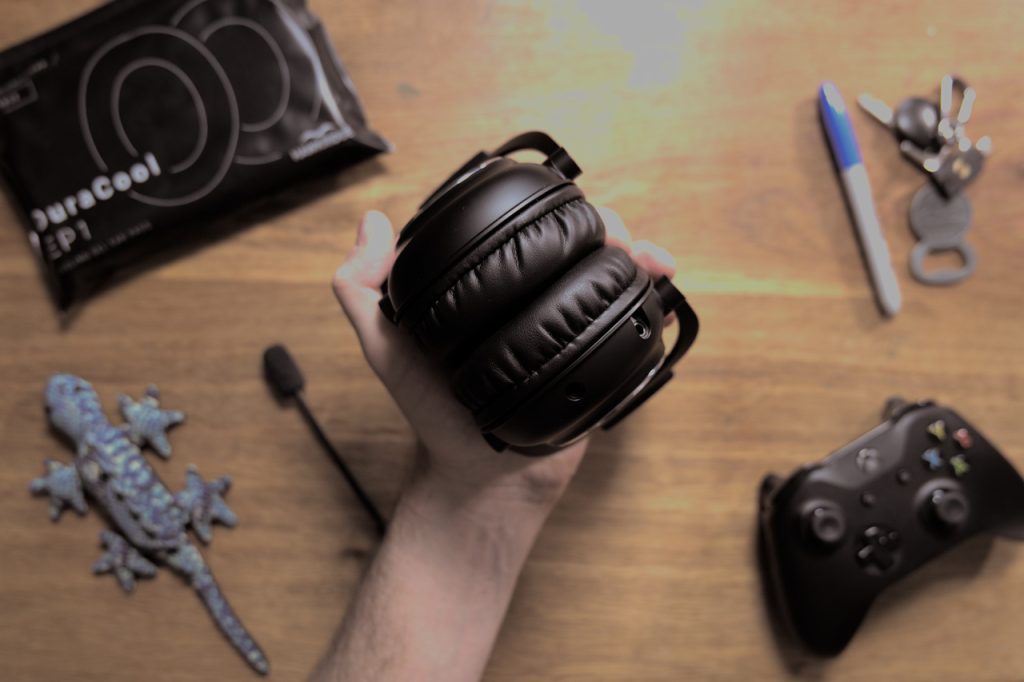
- Grip the ear pad: Hold the headset securely with one hand. With the other hand, grasp the edge of the ear pad firmly between forefinger and thumb.
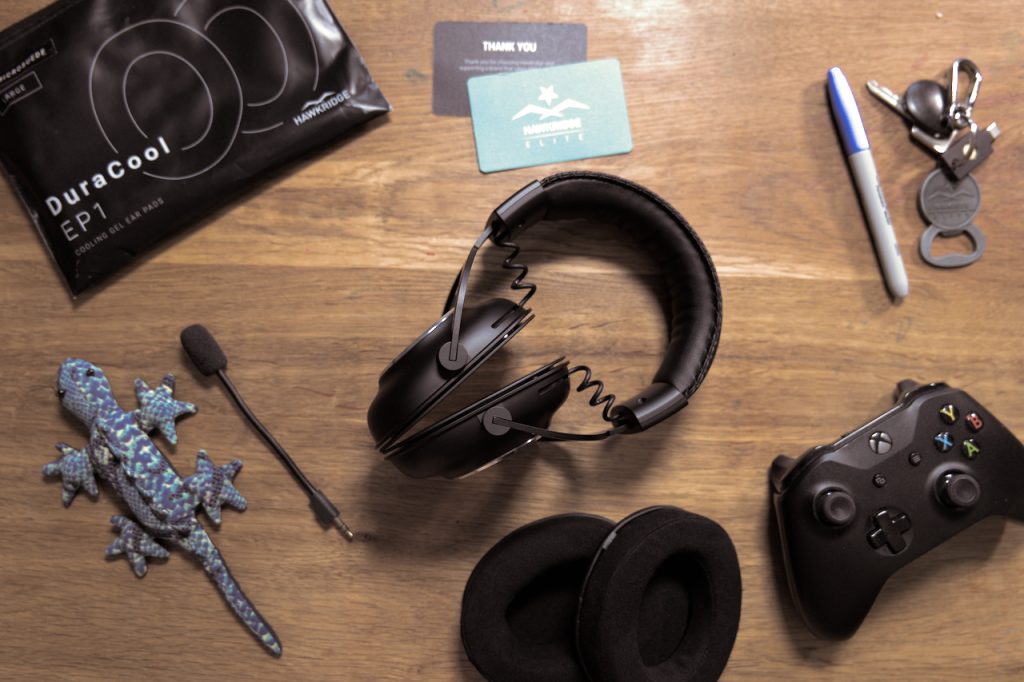
- Pull off the ear pad: Gently pull the ear pad away from the earcup. Start by pulling at one section and work your way around the ear pad until it comes off completely. Take care not to apply excessive force to avoid damaging the earcup or any internal components.
Step 2: Prepare the New Replacement Earpads
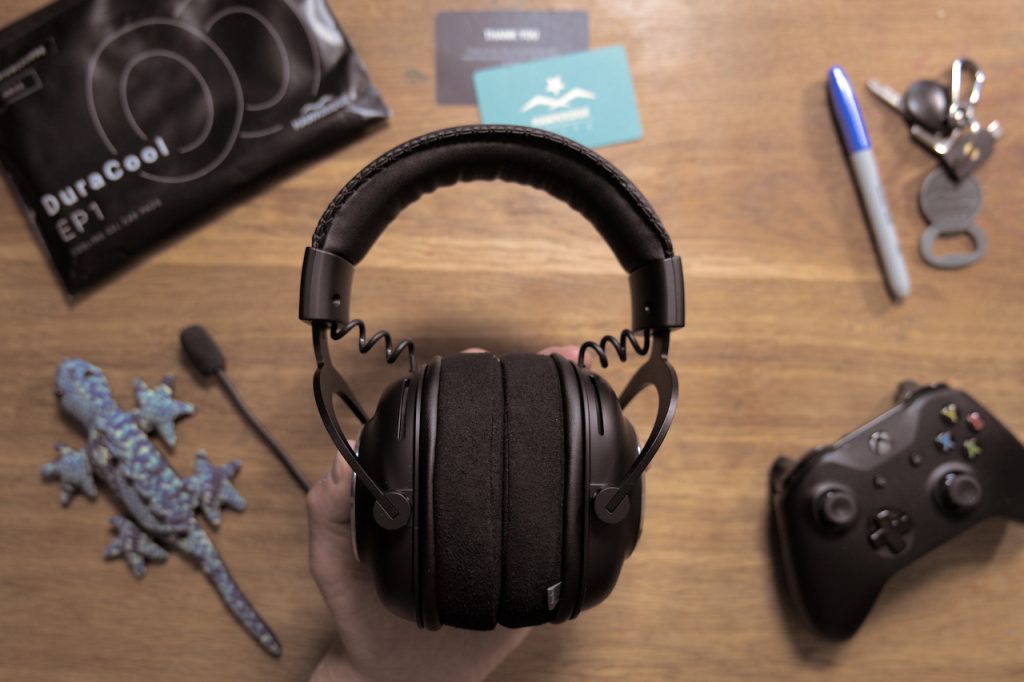
- Inspect the new ear pads: Ensure that the new ear pads are compatible with your Logitech-G Pro X headset. They should have a similar attachment lip mechanism to the original earpads.
- Orient the ear pads: Check that the new ear pads are correctly oriented. Most ear pads are symmetrical, but some might have a specific orientation.
Step 3: Attach the New Ear pads
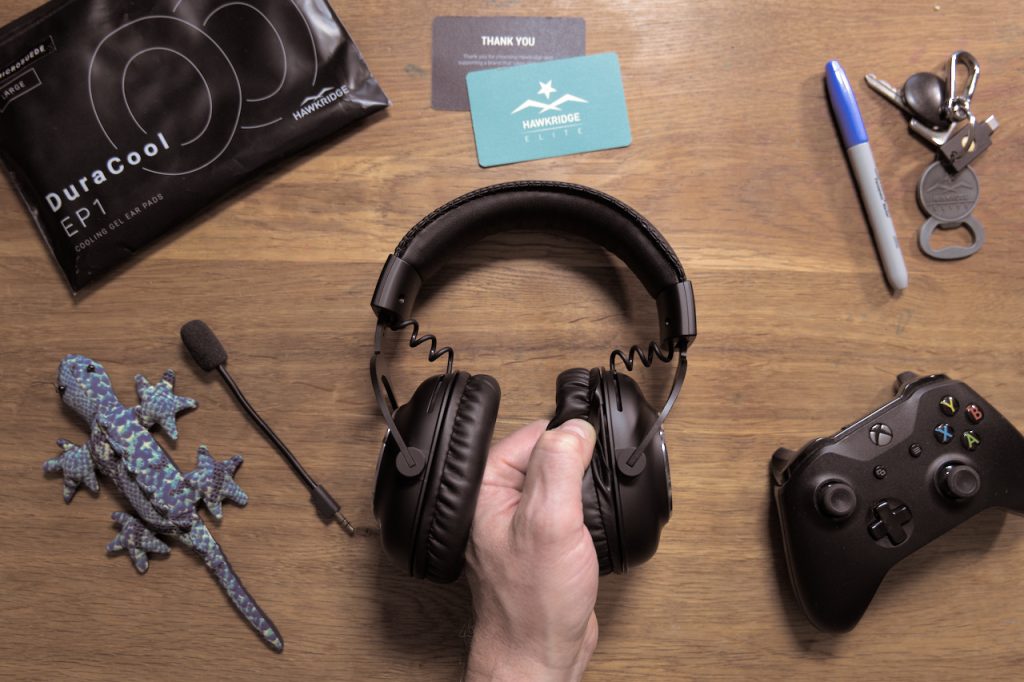
- Align the ear pad: Position the new ear pad over the earcup. Make sure the attachment lip on the ear pad is aligned with the groove on the earcup.
- Secure the ear pad: Starting at one point, press the lip of the ear pad into the groove on the earcup. Work your way around the earcup, ensuring the lip is fully inserted into the groove. You may need to apply gentle pressure to stretch the ear pad material to ensure a snug fit over the lip.
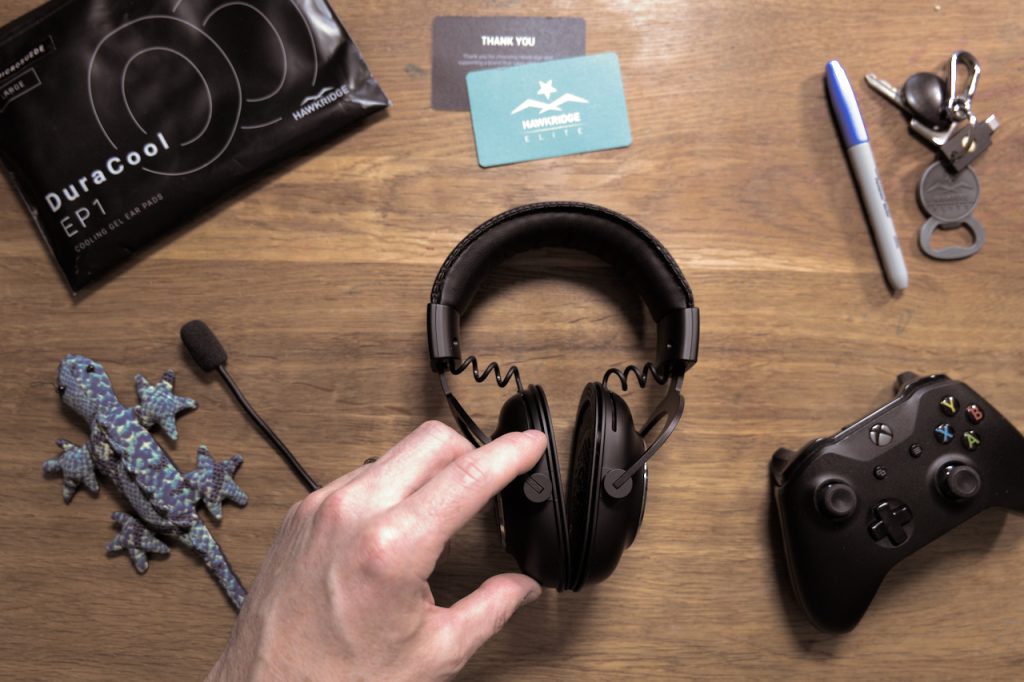
- Check for secure fit: Once the new ear pad is attached, run your fingers around the edge to ensure it is evenly and securely in place. The ear pad should fit snugly without any loose or bunched up sections.
Step 4: Repeat for the other ear pad
Repeat the process for the second ear pad, following the same steps to remove the old one and attach the new one.
Step 5: Test the headset
- Reconnect to audio source: Reconnect your headset to your audio device and set the volume to a moderate level.
- Check comfort and sound quality: Wear the headset and check for comfort. Ensure that the new ear pads are providing a good seal around your ears. Test the sound quality to make sure there are no issues with the audio.
Logitech-G Pro X Maintenance Tips
Your headset will last longer if you look after it, so here are some essential ways to keep your Logitech-G Pro X in the best possible condition.
- Regular earpad cleaning: Over time, sweat, oils, and dust can build up on your earpads, leading to discomfort and potential wear. Wipe them down regularly with a slightly damp, soft cloth to keep them clean and fresh. Avoid using harsh chemicals that could damage the material.
- Cable care: The detachable cable on the Logitech-G Pro X is a key feature, but it can wear out if mishandled. Avoid pulling on the cable when unplugging and store it without sharp bends or knots. Proper cable management ensures longevity.
- Proper storage: When not in use, store your headset in a cool, dry place. Consider using a stand or case to protect it from dust, moisture, and accidental drops. Keeping it out of direct sunlight or extreme temperatures helps maintain both comfort and audio quality.
- Microphone and connections maintenance: The detachable microphone should be handled gently to prevent damage to the connection point. Periodically check and clean the 3.5mm ports to ensure optimal sound quality. Dust build-up can lead to static or poor connections, so a quick clean with a soft, dry cloth can keep things clear.
These simple maintenance tips can help ensure your Logitech-G Pro X headset stays in top condition for years of gaming.
Frequently Asked Questions
Choosing the best ear cushion material depends on your requirements, but normally comfort and durability are high on the list. The Hawkridge DuraCool EP1 features unique SoftTouch fabric, which is comfortable on the skin and should significantly outlast standard PU leather earpads.
The ear cushions on the Logitech-G Pro X are a large oval size and you will need to buy ear pads specially made for Logitech-G Pro X headset.
Choosing the best earpads for the Logitech-G Pro X is an important decision. The Hawkridge DuraCool EP1 one of the best ear cushions available for the Logitech-G Pro X headset, with a high performance and long lasting cushion made from advanced materials that are super comfortable for long gaming sessions.
Just follow our ear pad replacement guide above for step by instructions for how to replace the ear cups on the Logitech-G Pro X.
Buy Hawkridge EP1 Earpads
Click below to buy the Hawkridge ear cushions featured in this guide:


